To simplify the process of returning items with UPS, begin by securely affixing the return label to ensure smooth processing, either provided by the sender or obtained online for proper routing. Validate that the label is clearly visible without any blockages on the package. Place the item carefully in a durable box, eliminating previous labels and barcodes, sealing it tightly with broad tape, and adding cushioning for protection.
Schedule pickup or drop-off for a streamlined return, using UPS locations to scan and print labels. Verify and print the return label at the UPS counter for accuracy. Utilize barcode services for a smoother process, especially without a printer, emphasizing the importance of scanning for correct tracking. Label verification is essential to prevent any issues with the return shipment. Implement these steps for a hassle-free UPS return experience.
Key Takeaways
- Securely attach return label for efficient processing.
- Pack item in sturdy box with cushioning.
- Utilize UPS locations for label scanning and printing.
- Verify label details for accurate shipment.
- Schedule pickup or drop off for streamlined return.

Mvgges Shipping Label Printer,Bluetooth 4×6 Thermal Label Printer for Small Business Office or Home, Compatible with Android, iOS, Windows and Mac, Widely Used for Amazon,USPS,Etsy,Inky Black
[Print via Bluetooth] – The bluetooth shipping label printer supports wireless printing via bluetooth connection. For IOS and…
As an affiliate, we earn on qualifying purchases.
As an affiliate, we earn on qualifying purchases.
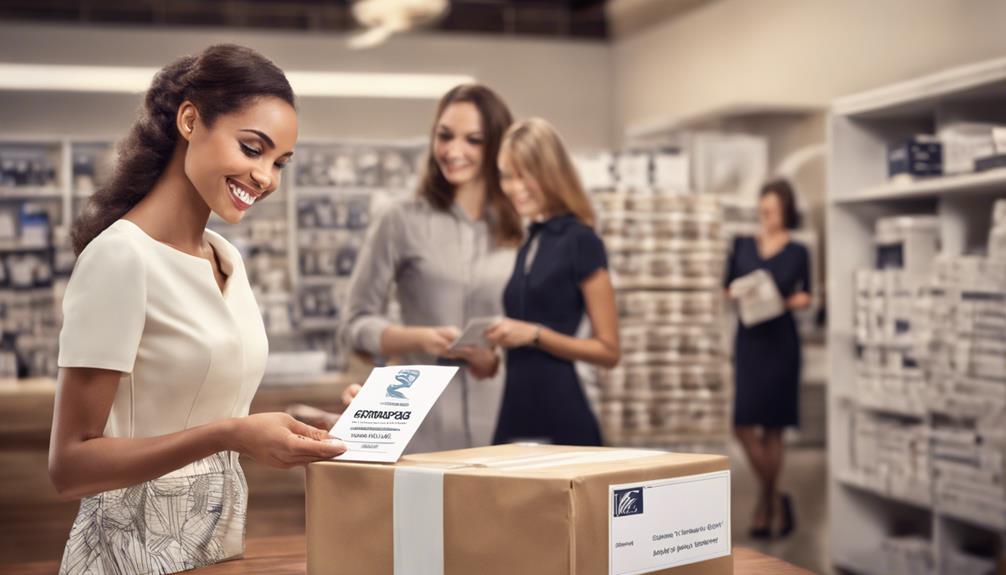
Attach Return Label to Package
Attach the provided return label securely to your package for smooth processing. The return label, typically provided by the shipper, is an essential component in guaranteeing your return is handled efficiently by UPS. This label contains important information that helps UPS route your package correctly through the return process.
By affixing the return label securely to your package, you help prevent any issues during transit that may arise if the label detaches. Make sure the return label is clearly visible and not obstructed by any other markings to guarantee seamless processing.
If, for any reason, the return label is missing from your package, it's vital to reach out to the shipper promptly to obtain a replacement label. Following these instructions diligently and attaching the return label correctly will streamline the return process and ensure your package reaches its intended destination without any delays or complications.

Laptop Shipping Box for Up to 17.6 Inches Notebook, Cardboard Laptop Boxes Secure Mailer Box Great for Computer Packing and Shipping (2026 Version, White)
Universal Laptop Shipping Box : The bottom layer inside dimension is 15.2 x 10.3 x 1.38" ( Max…
As an affiliate, we earn on qualifying purchases.
As an affiliate, we earn on qualifying purchases.
Contact Shipper for Label

When requesting a return label for your package, reach out to the shipper directly. Shipper-provided labels are typically included in the original shipment or can be obtained upon request. It's important to have all the necessary information from the shipper to kickstart the return process smoothly.
Make sure to carefully follow the instructions provided by the shipper for attaching and using the shipping label correctly. If, by any chance, a return label wasn't included in the package, don't hesitate to contact the shipper promptly to request one. By contacting the shipper directly, you guarantee that you have the correct label tailored for your specific return.
It's vital to maintain clear communication with the shipper to guarantee a hassle-free return process. Remember, the shipper is there to assist you in facilitating the return of your item, so don't hesitate to reach out for the necessary shipping label.

Duck Brand Small Bubble Cushioning Wrap for Fragile Moving & Shipping – 175 ft Packing Wrap for Extra Protection in Boxes & Mailers – Clear Roll, Moving Supplies, Perforated Every 12 in
SMALL BUBBLE CUSHIONING WRAP: This cushion wrap features small size bubbles; small bubbles allow for easy conformability around…
As an affiliate, we earn on qualifying purchases.
As an affiliate, we earn on qualifying purchases.
Create Return Label Online
To streamline the return process further, consider utilizing UPS's online platform to effortlessly generate a return label with all the necessary details. By accessing UPS's website or shipping portal, you can input important information like sender details, recipient details, and the reason for return. Once you've completed these steps, simply print the generated return label and attach it to your package for convenient drop-off. With this online feature, you'll also receive a tracking number to monitor your package's journey back to the sender. This seamless process allows you to initiate your return from the comfort of your own home. Take advantage of UPS's user-friendly online return label creation tool for a hassle-free experience.
| Return Label Creation Online | |
|---|---|
| Step 1: | Access UPS's website or shipping portal. |
| Step 2: | Input sender, recipient details, and reason for return. |
| Step 3: | Print the generated return label. |
| Step 4: | Attach the label for convenient drop-off. |

Tera Barcode Scanner Wireless 1D Laser Cordless Barcode Reader with Battery Level Indicator, Versatile 2 in 1 2.4Ghz Wireless and USB 2.0 Wired
Larger battery enables longer continuous usage and twice the stand-by time. With the unique battery indicator light showing…
As an affiliate, we earn on qualifying purchases.
As an affiliate, we earn on qualifying purchases.
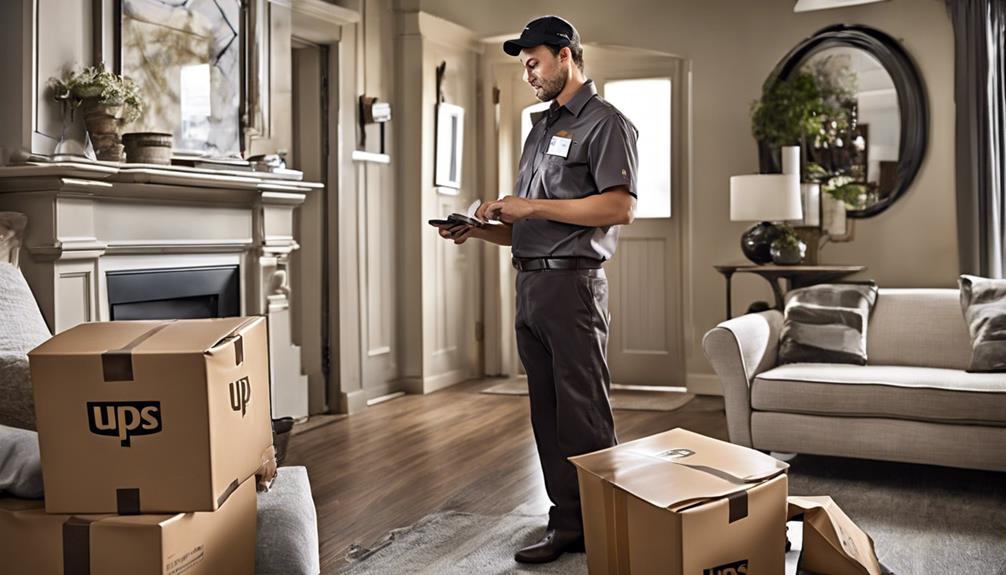
Prepare Package for Return

When preparing your package for return, make sure it's securely packed in a sturdy, undamaged box to protect the item during transit.
Here are some essential steps to follow:
- Remove any old labels and barcodes from the box if you're reusing it for the return shipment.
- Seal the box securely with at least 2-inch wide tape to prevent it from opening during shipping.
- Wrap individual items in the package separately with tags and cushioning to avoid damage in transit.
- Know the dimensions and weight of the box to accurately calculate shipping costs.
- Remember that the Parcel Service of America expects packages to be well-protected and securely sealed for safe delivery.
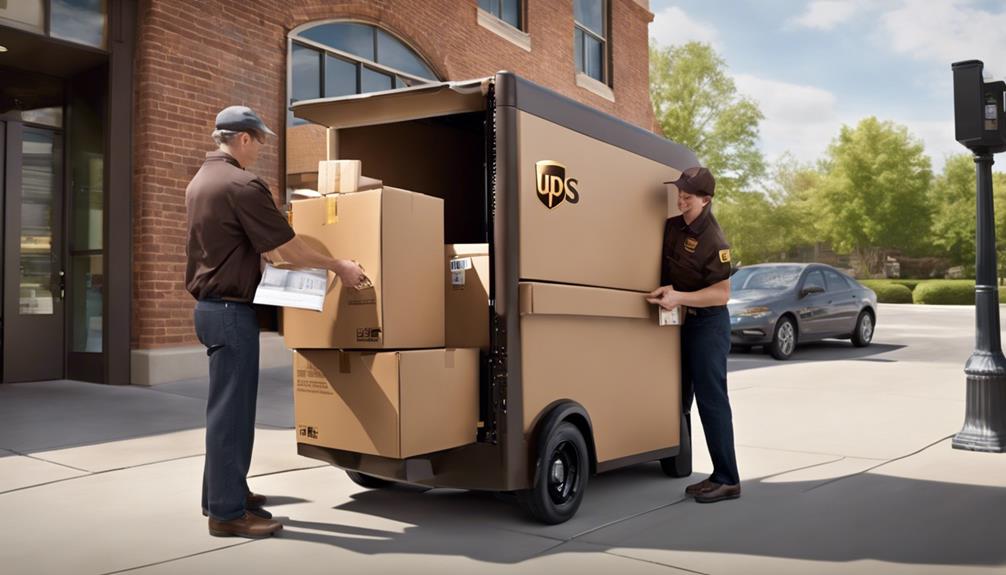
Schedule Pickup or Drop Off
Consider arranging for the pickup or dropping off of your return package to streamline the return process. To make things easier, you can either schedule a pickup or drop off your package at a nearby UPS location. Here is a table outlining the options available for scheduling your return:
| Option | Details |
|---|---|
| Schedule Pickup | Choose a date and time for a UPS driver to pick up your return package from your doorstep. |
| Drop Off at UPS Location | Take your return package to a UPS store or authorized location near you. Remember to bring identification. |
| Hand Package to UPS Driver | Simply hand your return package directly to a UPS driver for a quick and hassle-free return process. |
| Print the Label | Make sure you have the return label ready to affix to your package before scheduling the pickup or drop off. |
Return Options Without a Printer
If you find yourself without access to a printer, UPS provides convenient solutions for creating and printing return labels at their locations or via email.
Here are some options for returning items without a printer:
- Visit a UPS location: Head to the nearest UPS store or authorized retailer to have your return label scanned and printed on-site.
- Email for a label: Request to have the return label emailed to you, allowing you to print it at a later time when a printer is available.
- Utilize mobile barcode: Use a mobile device to display the barcode for the return label, which can be scanned at a UPS location for label printing.
- Seek assistance: If you encounter any difficulties, don't hesitate to ask UPS staff for guidance on alternative ways to handle your return without a printer.
- Stay informed: Keep track of your return process and any updates through the UPS tracking system, ensuring a smooth return experience even without immediate access to a printer.
Scan and Print Barcode at UPS
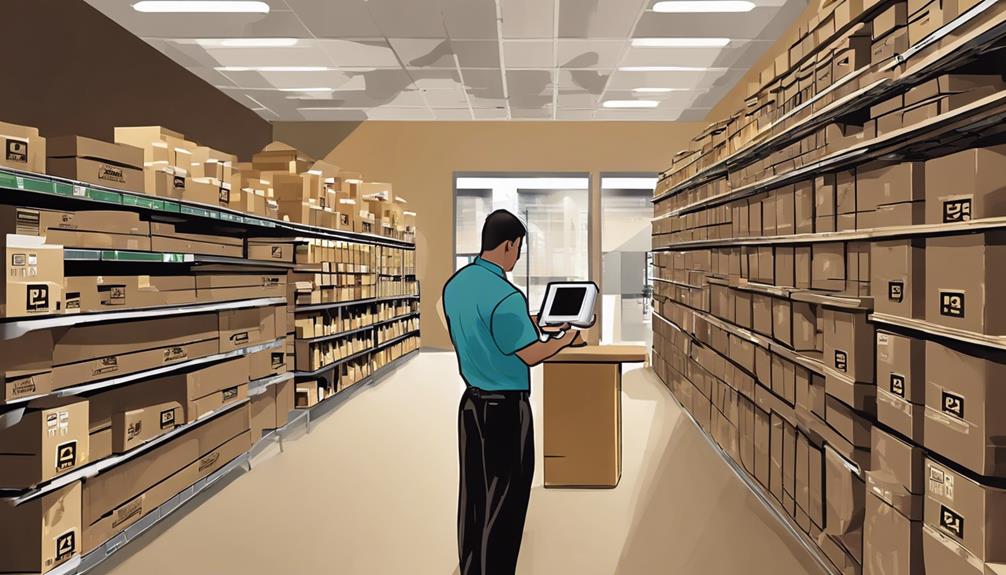
You can easily scan and print a barcode at UPS by visiting one of their locations.
This option is particularly useful if you're unable to print the label at home.
The UPS staff will guide you through the process, ensuring a hassle-free return experience.
Scan Barcode With UPS
To simplify the return process, head to a UPS location to scan and print your return barcode hassle-free. Here's how you can smoothly scan your barcode with UPS:
- Arrive at the UPS store with your package ready for return.
- Approach the UPS staff and present them with the barcode on your mobile device or email.
- Allow the UPS staff to scan the barcode, which will generate and print the necessary return label.
- Verify that all the details on the label are correct before affixing it to your package.
- With the barcode scanned and label printed at UPS, your return is now properly processed and on its way back.
Print Barcode Label
When visiting a UPS location to print your return barcode label, simply present the barcode to the staff for scanning and label generation. This option is especially useful if you lack a printer at home. The UPS staff will assist you in creating the necessary label for your return package. Here is a table to summarize the process:
| Steps | Description |
|---|---|
| Visit UPS Store | Bring your return package to a UPS store. |
| Present Barcode | Show the barcode to the staff for scanning. |
| Label Generation | The staff will generate the label for your return package. |
| Verify Information | Double-check that all details on the label are accurate. |
| Attach Label | Once printed, attach the label to your package securely for return. |
Follow UPS Instructions
Upon reaching a UPS location, you can promptly scan and print your return barcode label for a smooth return process. This handy service provided by UPS streamlines the return experience, particularly for those lacking a printer at home. Here's how to maximize the scan and print option:
- Approach the UPS counter with your return item.
- Request assistance for scanning the barcode.
- Confirm that the barcode is accurately scanned.
- Print the return label on-site.
- Check that all necessary details are included on the label before attaching it to your package.
Frequently Asked Questions
How Do I Return an Item With Ups?
To return an item with UPS, simply attach a pre-printed return label or create one online if needed. Pack your item securely in a sturdy box, remove old labels, and seal it tightly.
You can drop it off at a UPS location, arrange a pickup for a fee, or give it to a driver. If you lack a printer, scan the barcode at a UPS center or email the label for later printing.
What Is the Proper Way to Return a Package?
Returning a package with UPS is as simple as pie.
First, prepare the package by securely packing it in a sturdy box, removing old labels, and sealing it tight.
Then, create a shipping label online or attach a pre-printed one.
Consider scheduling a pickup, dropping off at a UPS location, or handing it to a UPS driver.
If you can't print the label, scan it at a UPS location or email it for later.
How Do I Get a Return Label?
To get a return label, check if the shipper provided one with your package. If not, reach out to request it or create one online. Some UPS locations offer scanning and printing services for return labels.
Additionally, you can have the label emailed for later printing if needed. Remember to follow the instructions provided by the shipper for a smooth return process.
Be sure to handle the package with care and adhere to any packaging guidelines.
How Do I Create a Return Label in Ups?
To create a return label in UPS, head to their website and follow the clear instructions provided. It's like painting a path for your package to find its way back home.
Simply input the necessary details, choose your return method, and then print the label. If you're label-less, UPS has got you covered with easy online label creation. Just a few clicks, and your return journey begins.
What is the difference between the UPS and Express return policies?
The UPS return policy offers a convenient way to return items, but their complete express return policy howto gives customers the option for a faster process. On the other hand, the Express return policy allows for quicker returns, but their complete express return policy howto may have specific requirements.
Conclusion
To sum up, returning items with UPS is a breeze when you follow these simple steps.
Did you know that 95% of UPS returns are processed within 24 hours of receipt? This impressive statistic shows just how efficient and reliable their return process is, giving you peace of mind when sending back unwanted items.
Remember, with UPS, returning items is quick, easy, and hassle-free.