TL;DR
Acoustic dampening and smart placement make a closet a surprisingly good spot for recording or reducing noise. Moving your rig away from your workspace is the most effective fix, while treatment and sealing help tame reflections and leaks.
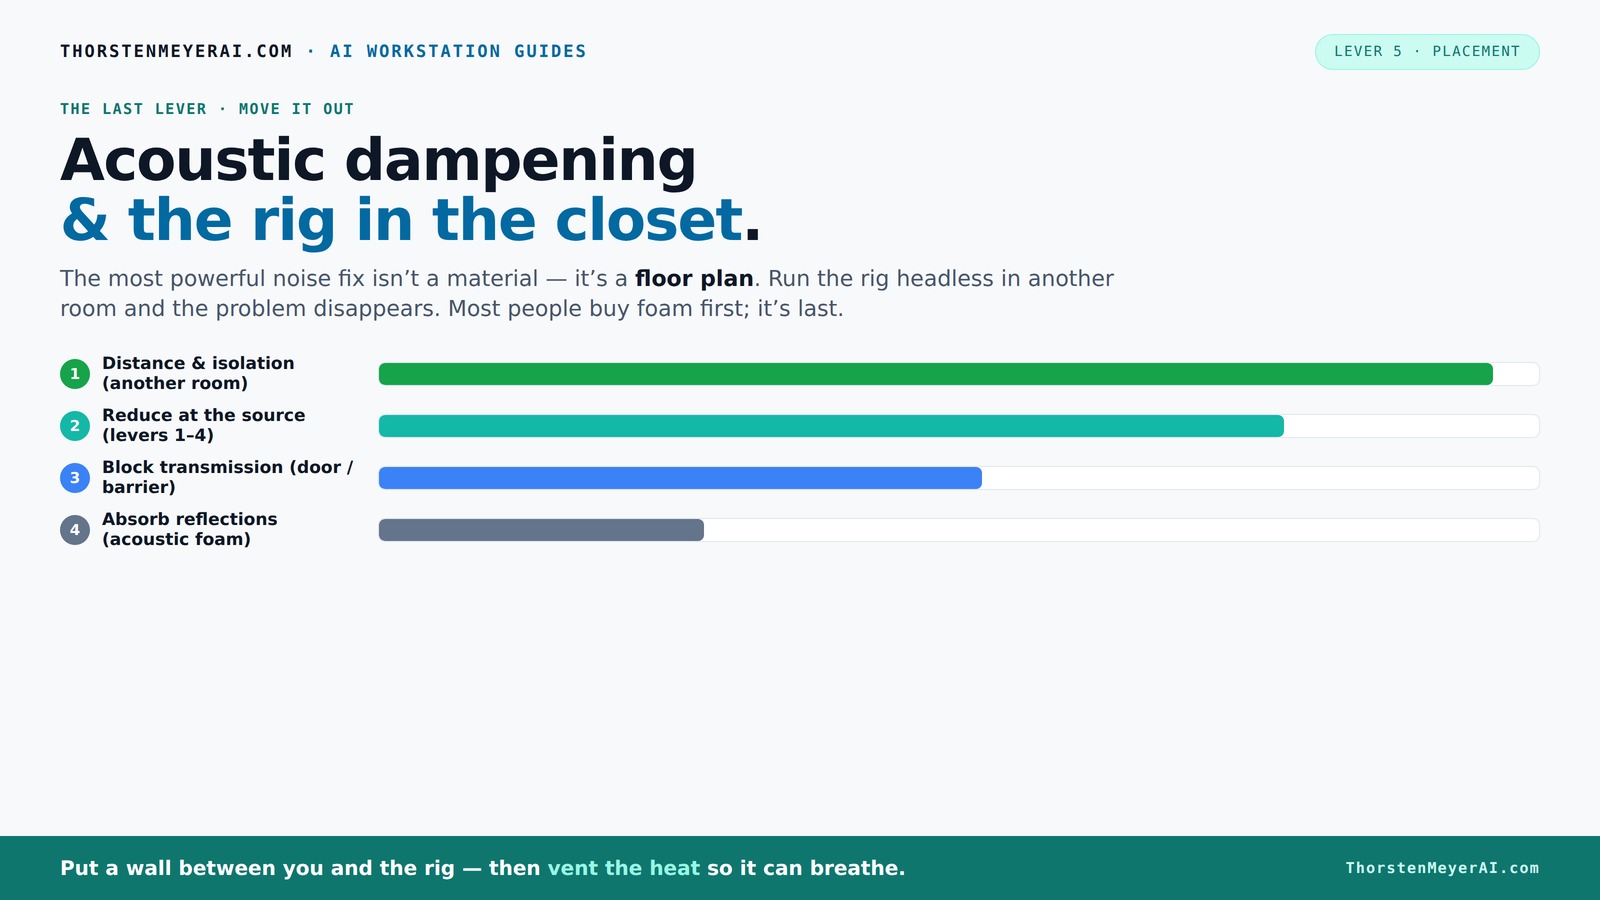
Acoustic dampening
& the rig in the closet.
The most powerful noise fix isn’t a material — it’s a floor plan. A rig you can’t hear because it’s in another room beats any amount of foam. Tap the approaches in Part 1 to see what actually works.
(another room)
(levers 1–4)
(door / barrier)
(acoustic foam)
Contain the noise, not the heat
Key Takeaways
- Moving your rig into another room or closet drastically reduces noise—by over 90%.
- Placement of acoustic panels at reflection points and sealing gaps around doors offers the best acoustic control.
- Ventilation is essential for enclosed setups; passive vents or ducted airflow prevent heat buildup.
- Bass traps are vital in small spaces with low-frequency issues, but balance is key to avoid deadening sound.
- Simple, reversible treatments like blankets, foam panels, and sealing can dramatically improve your tiny studio.

Focusound 52 Pack Acoustic Foam Panels 1" x 12" x 12" Sound Proof Foam Panles Soundproofing Noise Cancelling Wedge Panels for Home Office Recoding Studio with 300PCS Double-Side Adhesive
Soundproofing - Acoustic foam panels triangular grooves structure for better noise absorption, helps to reduce and absorb unwanted...
As an affiliate, we earn on qualifying purchases.
As an affiliate, we earn on qualifying purchases.
Why Soundproofing Isn’t the Same as Dampening — and Why It Matters
Soundproofing and acoustic dampening serve different purposes. Soundproofing blocks noise from escaping or entering a space, like sealing a room with heavy drywall or specialized barriers. Dampening, on the other hand, softens reflections and echoes inside the room, making sound clearer and less harsh.
Understanding this distinction is crucial because investing in the wrong approach can lead to frustration. For instance, applying thick drywall or mass-loaded barriers without addressing internal reflections may prevent sound from escaping, but won’t improve the quality of recordings or reduce echo within the space. Conversely, focusing solely on dampening might improve clarity but won’t contain loud noises from escaping your room. The key is to recognize that both techniques complement each other, but they target different problems. When you know which to prioritize, you can allocate your resources more effectively, balancing internal reflection control with leak prevention to optimize your environment for both quiet and sound quality.
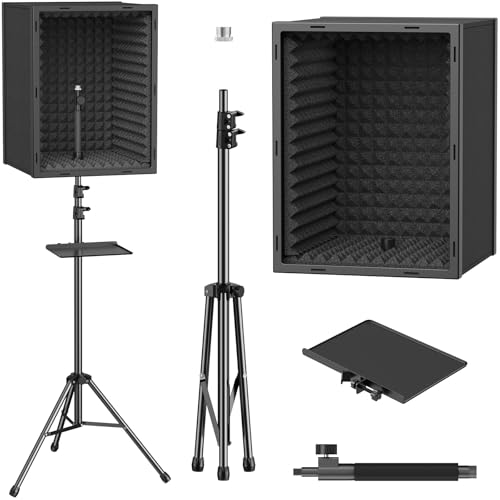
TONOR Personal Vocal Booth, Microphone Isolation Shield for Studio, Framed Acoustic Foam Box, Sound Absorbing, for Professional Recording, Podcast, Singing, Adjustable Height, Max 190 cm/53.1inch
Sound Absorption & Isolation: This vocal booth features a box design combining five high-density foam and sound absorbing...
As an affiliate, we earn on qualifying purchases.
As an affiliate, we earn on qualifying purchases.
Where to Place Acoustic Panels for Maximum Effect in a Closet
Placement is everything. The most effective spots are the reflection points — behind your microphone, on side walls, and sometimes on the ceiling. For more detailed guidance, see acoustic dampening placement tips. For instance, if you’re recording vocals in a closet, position panels at the point where sound bounces back to your ears or mic, often the wall directly behind or beside you.
Imagine standing in your closet, facing a mirror. The wall you see directly reflects sound. Placing panels there reduces harsh echoes. A practical tip: use a mirror to find reflection points, then line those with acoustic foam or panels for the best results.
But why does placement matter so much? Because sound waves bounce and reflect differently depending on their point of origin and the room’s shape. Correct placement disrupts these reflections at critical points, preventing echoes and comb-filtering effects that can muddle recordings. It’s not just about covering walls; it’s about targeting the spots where the room’s natural reflections cause the most disruption, leading to clearer, more professional-sounding recordings.
TONOR Personal Vocal Booth, Microphone Isolation Shield for Studio, Framed Acoustic Foam Box, Sound Absorbing, for Professional Recording, Podcast, Singing, Adjustable Height, Max 190 cm/53.1inch
Sound Absorption & Isolation: This vocal booth features a box design combining five high-density foam and sound absorbing...
As an affiliate, we earn on qualifying purchases.
As an affiliate, we earn on qualifying purchases.
How to Deal with the Door and Gaps—Seal or Cover for Better Noise Control
The door is usually the biggest leak point. A hollow door or gaps around it can let a lot of sound escape or enter. Learn more about sealing techniques in this guide on acoustic sealing. Seal cracks with weatherstripping or use a heavy blanket or soundproof door cover to block leaks.
Imagine sealing a door with a thick moving blanket. It’s like wrapping your closet in a cozy blanket, but with a twist: you also want to add a door sweep at the bottom to block sound leaks from the gap between the door and the floor.
This simple step can cut noise transmission by up to 50%, making your space significantly quieter. But beyond sealing, consider the tradeoffs: sealing gaps can sometimes make a space feel more enclosed, which might impact ventilation or create a sense of claustrophobia. Therefore, balancing effective sealing with proper airflow is vital—using vented panels or small passive vents can help maintain ventilation while still controlling noise leaks.
rig in closet soundproof enclosure
As an affiliate, we earn on qualifying purchases.
As an affiliate, we earn on qualifying purchases.
Handling Bass Buildup in Small Closets — Do You Need Bass Traps?
Bass frequencies are sneaky. In small, enclosed spaces like closets, they tend to build up and create muddy, boomy sound. Find out how to manage bass buildup at this resource on bass traps. Bass traps are designed to absorb these low frequencies, preventing resonance and improving clarity.
Picture a tiny room with parallel walls — bass waves bounce back and forth, intensifying the boom. Installing bass traps in corners or along the floor-wall junctions can tame this buildup. The placement in corners is critical because low frequencies tend to accumulate there due to how sound waves reflect and concentrate in these zones. Properly installed bass traps can significantly clear up muddy sound, giving your recordings more definition.
However, in very small spaces, overdoing bass treatment can deaden the sound, making it too dull or lifeless. The tradeoff is between clarity and natural liveliness. Sometimes, a thick rug or strategic placement of absorption panels off the wall can help manage bass without over-absorbing higher frequencies, preserving a balanced sound profile. The goal is to reduce boominess without sacrificing the overall tonal quality, which requires a nuanced approach to bass management in tight spaces.
Foam, Panels, Blankets, or Drywall — What Works Best?
Each material has its strengths. Foam panels are quick and cheap, good for reducing echo. For a comprehensive comparison, visit this review of acoustic materials. Heavy blankets or moving blankets block sound leaks. Adding mass to walls—like a second drywall layer—can substantially improve soundproofing.
Imagine stacking a few blankets around your closet or lining it with foam. Better yet, install a second drywall with damping compound for serious noise control. The choice depends on your primary goal: if you want to improve vocal clarity and reduce echo, focus on absorption materials like foam or panels at reflection points. If your goal is to block external noise from entering or leaving, then adding mass—such as extra drywall or mass-loaded vinyl—is more effective. Combining these techniques can provide a balanced solution tailored to your needs and budget, giving you control over both internal acoustics and external noise leakage.
How Much Treatment Is Enough? When Do You Stop?
More isn’t always better. In small spaces, focusing on reflection points and leaks often yields the best results. To learn when to stop treatment, see this guide on acoustic treatment. Cover 30-50% of the walls with absorption panels, especially at reflection points. Bass traps in corners help low frequencies, but don’t overdo it.
Adding too many panels can deaden the room, removing its natural liveliness and making recordings sound dull or unnatural. The goal is to strike a balance: enough treatment to control problematic reflections and leaks, but not so much that the space becomes overly deadened. Use your ears as a guide—if the room sounds too muffled or echo-free, back off a bit. Remember, the purpose of acoustic treatment is to improve clarity, not to silence all sound entirely. Start small, evaluate, and add incrementally to find your optimal setup.
Transforming a Closet Into a Recording Haven — Practical Tips
Turning a closet into a vocal booth doesn’t require building a soundproof room. Focus on sealing gaps, adding absorption, and controlling airflow. Use thick blankets or specialized acoustic panels to line interior walls.
For example, hang a moving blanket over the door, seal cracks with weatherstripping, and place panels at reflection points. Add a reflection filter around your microphone for extra control. Ventilation is key: a small fan or vent keeps heat out while maintaining airflow.
This approach is reversible and renter-friendly, turning a tiny space into a surprisingly effective recording nook.
Why Moving the Rig Out Is the Most Effective Noise Fix
The biggest noise reduction comes from simply moving your AI rig or workstation into another room or closet. Distance cuts noise transmission dramatically—by over 90% according to studies.
For example, a GPU tower in a closet with a vent can be quieter than one sitting on your desk, even with foam lined inside. You won’t believe the difference a few extra feet make.
This strategy is perfect for high-powered rigs that generate heat and noise, especially since networked workflows allow remote operation. Moving your rig not only reduces noise but also minimizes heat buildup in your primary workspace, improving comfort and safety. The tradeoff is space and convenience; however, the significant noise reduction often outweighs these considerations, especially in shared or multi-use environments.